Guide · Image to pixel art
Turning an image into pixel art in LibreSprite
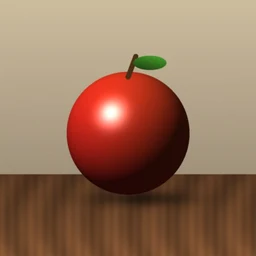
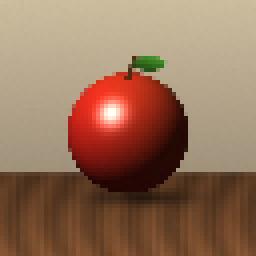
LibreSprite has no one-click “pixelate” filter, but four built-in steps get you there: shrink the image, make a small palette from it, convert to Indexed colour, then tidy up by hand. We ran every step in LibreSprite 1.3 on a test image we rendered ourselves. All the results below are LibreSprite’s own output files, enlarged without smoothing.
On this page 5 sections
Short answer
How do I convert an image to pixel art in LibreSprite?
Open the image, then Sprite → Sprite Size (for example 64 px wide, method Bilinear). Next, palette menu → Create Palette from Current Sprite with 8–32 colours, and Sprite → Color Mode → Indexed (with or without ordered dither). Finally, clean up stray pixels with the Pencil (B) and export at 400–800 % for sharing.
Step by step
Open the image
Ctrl+O opens PNG, JPG, GIF, BMP, WebP and more. Start from a picture with a clear subject and simple background: busy photos turn into noise at 64 px. When we opened our JPG, LibreSprite also filled the palette with colours from the image (the sprite itself stays in RGB mode).
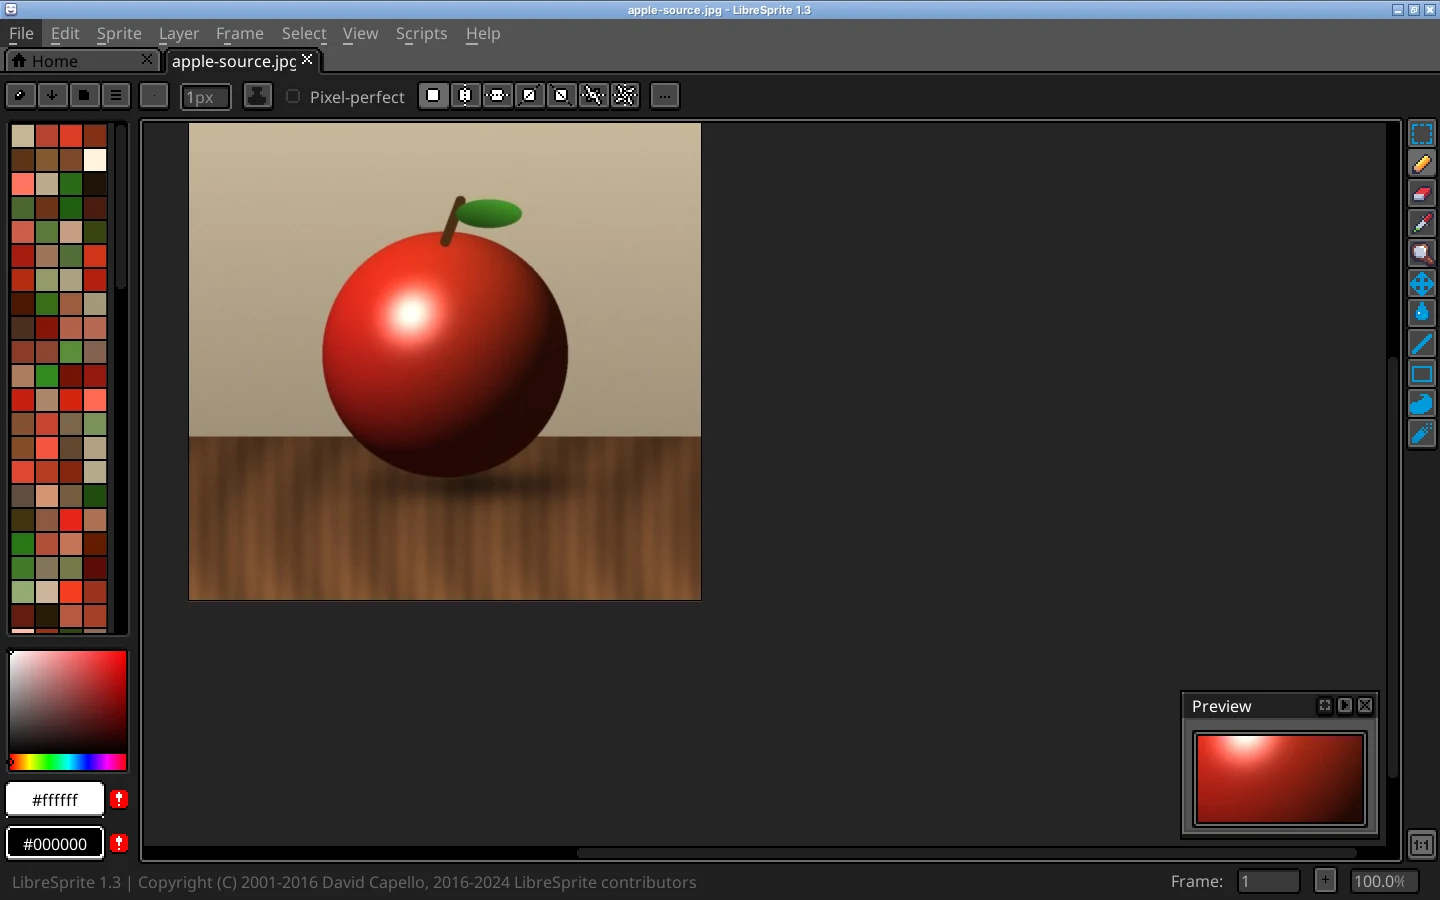
Real screenshot · Linux (Ubuntu 24.04, X11) · LibreSprite 1.3 (AppImage)Our 512 × 512 test image opened in LibreSprite 1.3. Opening a JPG also filled the palette with colours taken from the image. Shrink it with Sprite Size
Sprite → Sprite Size. Type the new width (Lock Ratio keeps the proportions) or a percentage. Typical targets are 32–128 px on the long side. For photos, choose Bilinear; see which method for why. The dialog remembers the last method you used.
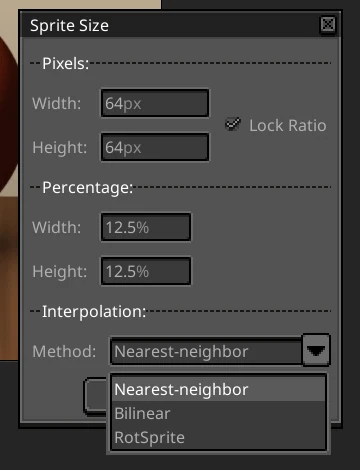
Real screenshot · Linux (Ubuntu 24.04, X11) · LibreSprite 1.3 (AppImage)Sprite → Sprite Size: 64 px wide with Lock Ratio on, and the three interpolation methods. Make a small palette from the image
Open the palette’s menu (the ☰ button above the colour swatches) and choose Create Palette from Current Sprite. Type the number of colours: 8–16 gives a strong pixel-art look, 32 keeps more detail. LibreSprite picks the colours from the image and replaces the palette; the picture doesn’t change yet.

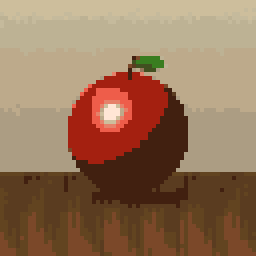
Real screenshot · Linux (Ubuntu 24.04, X11) · LibreSprite 1.3 (AppImage)Palette menu → Create Palette from Current Sprite. It offers 256 colours; we typed 16 and pressed OK. Convert to Indexed colour
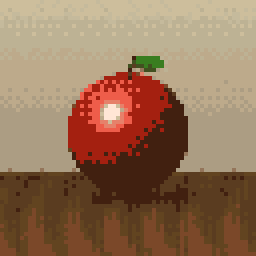
Sprite → Color Mode → Indexed (No Dithering) maps every pixel to the nearest palette colour, giving flat bands. Indexed (Ordered Dither) mixes neighbouring colours in a regular pattern to fake in-between shades. Try both: Ctrl+Z undoes the conversion instantly.

Real screenshot · Linux (Ubuntu 24.04, X11) · LibreSprite 1.3 (AppImage)Sprite → Color Mode, with the two Indexed options: no dithering and ordered dither. Clean up by hand
This step makes it pixel art rather than a small photo. Zoom in (4 = 800 %), pick colours with Alt+click, and with the Pencil (B): remove single stray pixels, straighten jagged outlines, add a dark outline around the subject if it gets lost in the background, and simplify highlights to one or two clean shapes. In our 16-colour result, the apple’s highlight and the table edge needed the most work.
Export
File → Export (Ctrl+Alt+Shift+S) and set Resize to 400–800 % so the pixels stay sharp when shared. Keep the small original too: game engines want the 1× file. Or use our pixel-art upscaler.
Nearest-neighbor, Bilinear or RotSprite?
Sprite Size offers three methods. We tested the first two on the same image, comparing each result with a true average of the original pixels (lower is closer):
| Shrink 512 → | Nearest-neighbor | Bilinear |
|---|---|---|
| 64 px (exactly 1/8) | 2.0 | 2.0, byte-identical file |
| 48 px (1/10.67) | 4.49 | 2.36 |
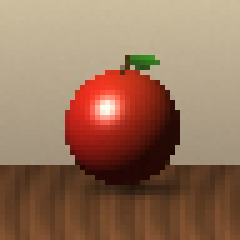
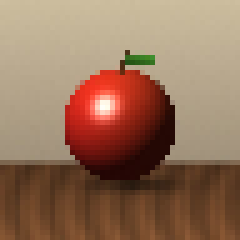
- Shrinking a photo or painting: use Bilinear. At whole-number ratios (½, ¼, ⅛) it gives exactly the same pixels as nearest-neighbour, and at other ratios it is noticeably cleaner.
- Enlarging pixel art: always Nearest-neighbor, by a whole number (200 %, 300 %, 400 %), so every pixel becomes a clean square.
- RotSprite is meant for pixel art; for photos it has no advantage over Bilinear.
Neither method averages a large area, so very big reductions (say 4000 px to 64 px) can look grainy. Shrinking in two steps (to 256 px, then to 64 px) helps.
Your own palette instead of the image’s
Instead of Create Palette from Current Sprite, load a fixed palette before step 4: the palette’s preset button offers the 38 palettes that ship with LibreSprite, such as DB32, PICO-8, NES and Game Boy. Indexed mode then maps the image to those colours, which gives a consistent look across several images. Browse and download palettes in our palette browser; details in palettes and colour.
Tips for better results
- Crop first. Crop the image to the subject (select it, then Sprite → Crop) before you shrink it.
- Boost contrast first. Small images lose contrast; brighten or saturate the source in any photo editor beforehand.
- Fewer colours, more style. 16 colours read as pixel art; 64+ still look like a small photo.
- Dither sparingly. Ordered dither suits skies and large gradients; on small sprites it often looks noisy. More in gradients and dithering.
- Use it as a base, not a result. Many artists put the converted image on a lower layer at 50 % opacity and redraw over it: see using a reference image.
FAQ
Does LibreSprite have a pixelate filter?
No. There is no pixelate or mosaic filter in 1.3; Sprite Size plus Indexed colour mode does the same job and gives you control over the size and palette.
What size should my pixel art be?
For a single object or character, 32–64 px; for a scene, 128–320 px wide. Our canvas size guide has a calculator.
Why do I get odd colours after converting to Indexed?
Indexed mode uses the current palette. If you skip “Create Palette from Current Sprite” or a preset, the image is mapped to whatever palette was loaded, possibly the default one.
Can I do this from the command line?
Partly: libresprite -b photo.jpg --shrink-to 64,64 --save-as small.png shrinks an image. Palette reduction and Indexed mode are done in the editor. See the command-line guide.
Is it okay to convert someone else’s picture?
For practice, yes. To publish or sell it, you need the rights to the original image; converting it to pixel art doesn’t change that.
Keep going
Found something wrong or out of date? Tell us: hello@libresprite.dev. We fix mistakes within a day.