Docs · Tools
LibreSprite tools
LibreSprite 1.3 has 23 tools in the tool bar on the right. Each has a key, and the bar at the top of the window shows the options of whichever tool is active. This page covers all of them, the brush and ink options they share, and symmetry.
On this page 19 sections
- All tools at a glance
- Pencil and pixel-perfect strokes
- Spray
- Eraser
- Eyedropper
- Paint Bucket
- Line and Curve
- Rectangle, Ellipse and filled shapes
- Contour and Polygon
- Blur and Jumble
- Selection tools
- Move
- Zoom and Hand
- Inks: how colour is applied
- Symmetry
- Grid, pixel grid and snapping
- Undo and Undo History
- Is there a gradient tool?
- FAQ
All tools at a glance
| Tool | Group | Key |
|---|---|---|
| Rectangular Marquee | Selection | M |
| Elliptical Marquee | Selection | Shift+M |
| Lasso | Selection | Q |
| Polygonal Lasso | Selection | Shift+Q |
| Magic Wand | Selection | W |
| Pencil | Pencil & Spray | B |
| Spray | Pencil & Spray | Shift+B |
| Eraser | Eraser | E |
| Eyedropper | Eyedropper | I |
| Zoom | Zoom & Hand | Z |
| Hand | Zoom & Hand | H |
| Move | Move | V |
| Paint Bucket | Paint Bucket | G |
| Line | Line & Curve | L |
| Curve | Line & Curve | Shift+L |
| Rectangle | Shapes | U |
| Filled Rectangle | Shapes | U |
| Ellipse | Shapes | Shift+U |
| Filled Ellipse | Shapes | Shift+U |
| Contour | Contour & Polygon | D |
| Polygon | Contour & Polygon | Shift+D |
| Blur | Blur & Jumble | R |
| Jumble | Blur & Jumble | R |
From data/gui.xml in LibreSprite 1.3. Pressing a group’s key again cycles through the tools that share it (for example U: Rectangle, Filled Rectangle).
Three tools also work while you hold a key, then switch back: hold Alt for the Eyedropper, Ctrl for Move, Space for the Hand.
Pencil and pixel-perfect strokes
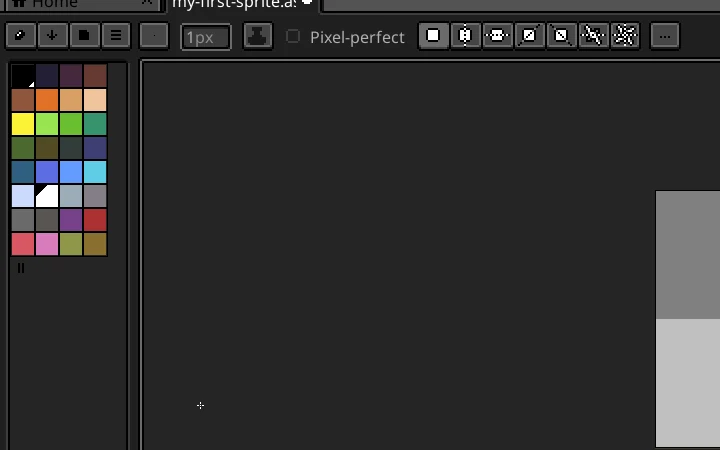
The Pencil (B) draws hard-edged pixels: left button with the foreground colour, right button with the background colour (Preferences → Editor lets you change what right-click does). Tick Pixel-perfect in the tool options to remove the doubled corner pixels that freehand strokes leave on diagonals; this is what makes clean pixel-art outlines possible with a mouse.
Brush type, size and angle
The first controls in the tool options are the brush: type (circle, square or line), size in pixels (up to 256 since 1.3) and angle for line brushes. Change size quickly with + and -. For pixel art keep 1 px.
Custom brushes
Select part of your sprite and choose Edit → New Brush: the selection becomes a brush you can stamp with the Pencil, with a pattern option that aligns it to the image or the source. Brushes are saved in user.aseprite-brushes in your settings folder.
Spray
Shift+B. Scatters pixels within a radius; set Spray Width and Spray Speed in the options. Useful for texture, dust and foliage.
Eraser
E. Left button erases to transparent (or to the background colour on a background layer); right button replaces the foreground colour with the background colour only, a quick way to recolour.
Eyedropper
I, or hold Alt with any drawing tool. Picks a colour from the canvas. Options choose what to sample (Color+Alpha, Color, Alpha, RGB, HSB, Gray, best-fit palette index) and whether to sample the current layer or the merged image.
Paint Bucket
G. Fills an area of similar colour. Tolerance (0–255) sets how similar; Contiguous fills only connected pixels (untick it to replace a colour everywhere in the layer). Extra options choose whether to look at the current layer or all layers.
Line and Curve
L for Line, Shift+L for Curve (drag a line, then drag to bend it). Hold Shift while drawing a line to snap it to the clean pixel-art angles: horizontal, 26.57° (the 2:1 line), 45°, 63.43° and vertical. Those are the angles that give even, stair-step lines.
Rectangle, Ellipse and filled shapes
U cycles Rectangle and Filled Rectangle, Shift+U Ellipse and Filled Ellipse. Hold Shift for squares and circles. Filled shapes use the foreground colour; the outline shapes use the brush.
Contour and Polygon
D is Contour: draw a freehand outline and it is filled when you release. Shift+D is Polygon: click the corners of a filled polygon. Both are fast for blocking in shapes.
Blur and Jumble
R cycles Blur (averages neighbouring pixels, which adds new colours, so use with care in pixel art) and Jumble (shuffles pixels for noise and texture).
Selection tools
Rectangular Marquee M, Elliptical Marquee Shift+M, Lasso Q, Polygonal Lasso Shift+Q, Magic Wand W (with tolerance and contiguous options). The options bar sets the mode: replace, add (Shift) or subtract (Shift+Alt). Then: Ctrl+A select all, Ctrl+D deselect, Ctrl+Shift+I invert, Ctrl+T transform. Moving a selection shows the rotation pivot and the Rotation Algorithm choice: Fast Rotation or RotSprite, which keeps pixel art crisp when rotating by odd angles. Selections in detail.
Move
V, or hold Ctrl. Moves the content of the current layer (or of the selection). Tick Auto Select Layer to grab whatever layer you click on.
Zoom and Hand
Zoom Z (click to zoom in, right-click to zoom out), Hand H or hold Space. Faster: keys 1–6 jump to 100 %–3200 %, ~ to 50 %, and the mouse wheel zooms (Preferences → Editor).
Inks: how colour is applied
The ink button in the tool options changes what a drawing tool does with colour:
| Ink | What it does |
|---|---|
| Simple Ink | Paints the colour as is. The default. |
| Alpha Compositing | Blends semi-transparent colour with what is underneath. |
| Copy Color+Alpha | Replaces pixels exactly, including their transparency. |
| Lock Alpha | Paints only where pixels already exist, keeping transparent areas transparent: ideal for shading inside an outline. |
| Shading | Select a ramp of colours in the palette; each stroke moves a pixel one step along that ramp: the left button steps towards the first colour of the ramp, the right button towards the last. Order the ramp dark → light and the left button darkens. This is LibreSprite’s shading tool. |
Opacity next to the ink sets paint intensity. More on shading on Palettes and colour.
Symmetry
The symmetry buttons in the tool options mirror every stroke while you draw: horizontal, vertical, 45°, −45°, rotational 180° and rotational 90° (the diagonal and rotational modes are new in 1.3). View → Symmetry Options adjusts the axes, and View → Symmetry Axes → Reset Symmetry to Center puts them back in the middle. Great for characters seen from the front, icons and tiles.
Grid, pixel grid and snapping
Shift+G shows the grid (default 16 × 16; change it in View → Grid → Grid Settings, or turn a selection into the grid), Alt+Shift+G a line around every pixel, and Shift+S snaps tools to the grid.
Undo and Undo History
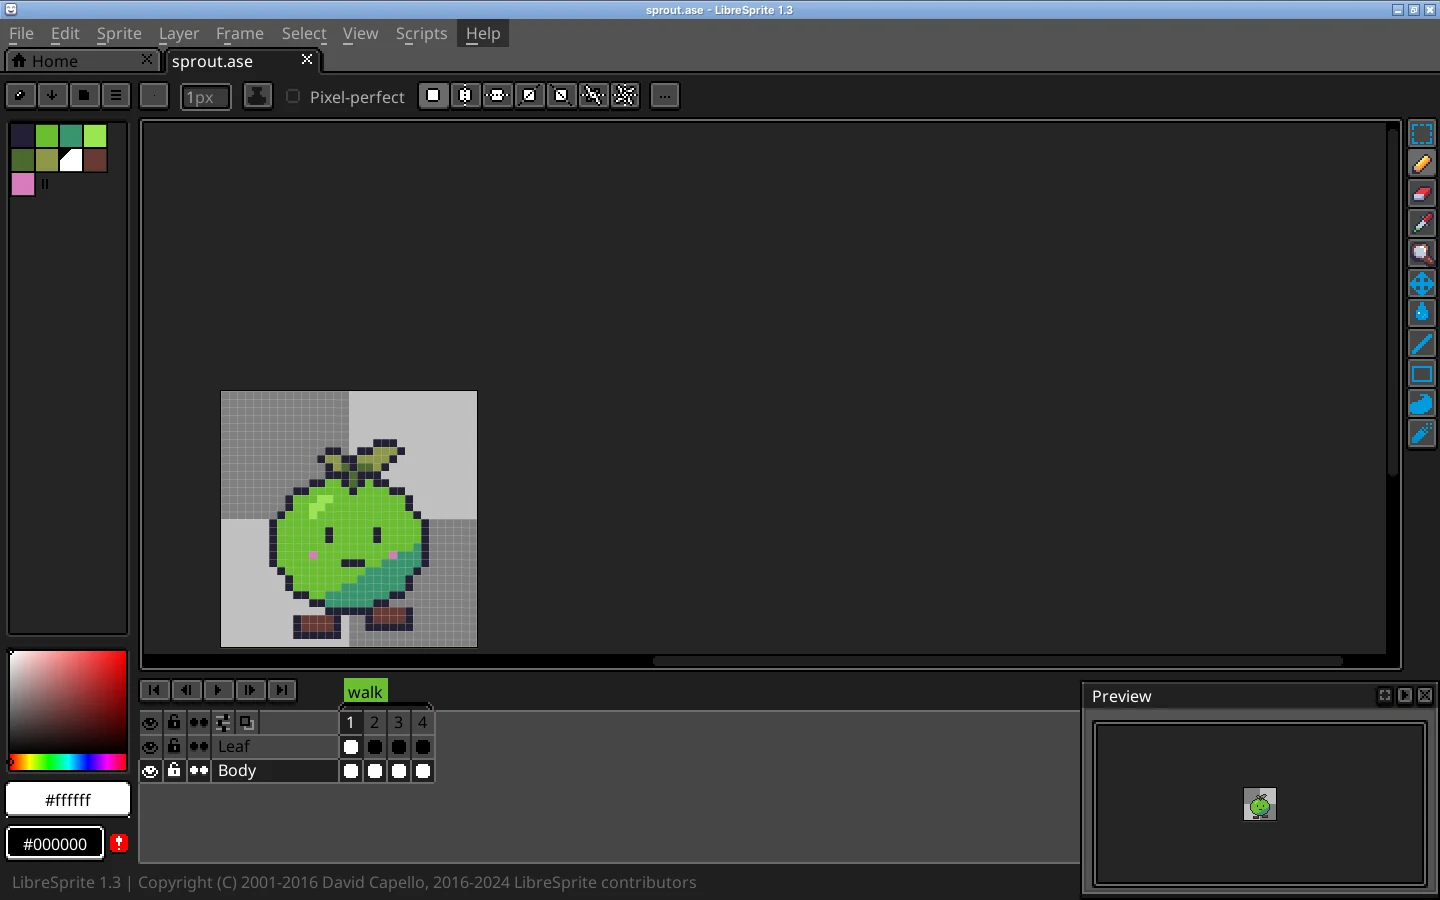
Ctrl+Z undoes and Ctrl+Y or Ctrl+Shift+Z redoes. Edit → Undo History lists every step and lets you jump back to any of them. The undo memory limit is 64 MB by default (Preferences → Undo).
Is there a gradient tool?
No. LibreSprite 1.3 has no gradient tool (Aseprite added one after the fork). In pixel art a smooth gradient is rarely wanted anyway; you build gradients from a few palette colours and dithering. The palette’s sort menu has a Gradient command that fills a palette range with a colour ramp between two colours, which you then paint with. Gradients and dithering, step by step.
FAQ
How do I change brush size in LibreSprite?
Press + or -, or type a size in the brush size field in the tool options bar. The maximum is 256 px in 1.3.
What is pixel-perfect in LibreSprite?
A Pencil option that removes the extra pixel freehand strokes leave at corners, so diagonal lines stay one pixel wide. Tick it in the tool options when the Pencil is active.
How do I mirror while drawing?
Turn on symmetry in the tool options (horizontal, vertical, diagonal or rotational). To flip an existing drawing instead, use Edit → Flip Horizontal (Shift+H) or Flip Vertical (Shift+V).
Does LibreSprite have a shading tool?
Yes: the Shading ink. Choose it in the ink menu, select a ramp of colours in the palette (dark to light), then paint: the left button steps pixels towards the darker end, the right button towards the lighter end.
Keep going
Found something wrong or out of date? Tell us: hello@libresprite.dev. We fix mistakes within a day.