Guide · Tileset
Making a tileset in LibreSprite
LibreSprite 1.3 has no tilemap layers (Aseprite added those later), but it has the two things you really need for tiles: Tiled Mode, which shows a tile repeating around itself so seams are obvious, and a grid that keeps every tile aligned.
On this page 4 sections
Short answer
Can you make tilesets in LibreSprite?
Yes. Draw single seamless tiles with View → Tiled Mode (Shift+T), then lay them out on a canvas divided by a 16 × 16 or 32 × 32 grid (View → Grid → Grid Settings, Shift+G) and export one PNG. Build the actual level in a map editor or game engine (Tiled, Godot, Unity), which read that PNG as a tileset.
1. Draw a seamless tile
New sprite the size of one tile
16 × 16 or 32 × 32 (Ctrl+N).
Turn on Tiled Mode
View → Tiled Mode → Tiled in Both Axes (Shift+T). The tile now repeats around the canvas, and strokes that cross an edge continue on the opposite side.

Real screenshot · Linux (Ubuntu 24.04, X11) · LibreSprite 1.3 (AppImage)View → Tiled Mode → Tiled in Both Axes (Shift+T): the sprite repeats around itself. Fix the seams
Paint across the edges until no lines or repeated blobs stand out. Tiled in X Axis or Y Axis only is useful for tiles that repeat in one direction (walls, ground strips).
Shift to check the inside
Edit → Shift → Left/Right/Up/Down moves the whole tile with wrap-around, bringing the edges into the middle where they are easier to judge.
2. Lay out the tileset
Make the sheet canvas
A new sprite sized in whole tiles, for example 128 × 128 for 8 × 8 tiles of 16 px.
Set the grid
View → Grid → Grid Settings: width and height 16. Show it with Shift+G and turn on Snap to Grid (Shift+S) so selections and moves land on tile boundaries.
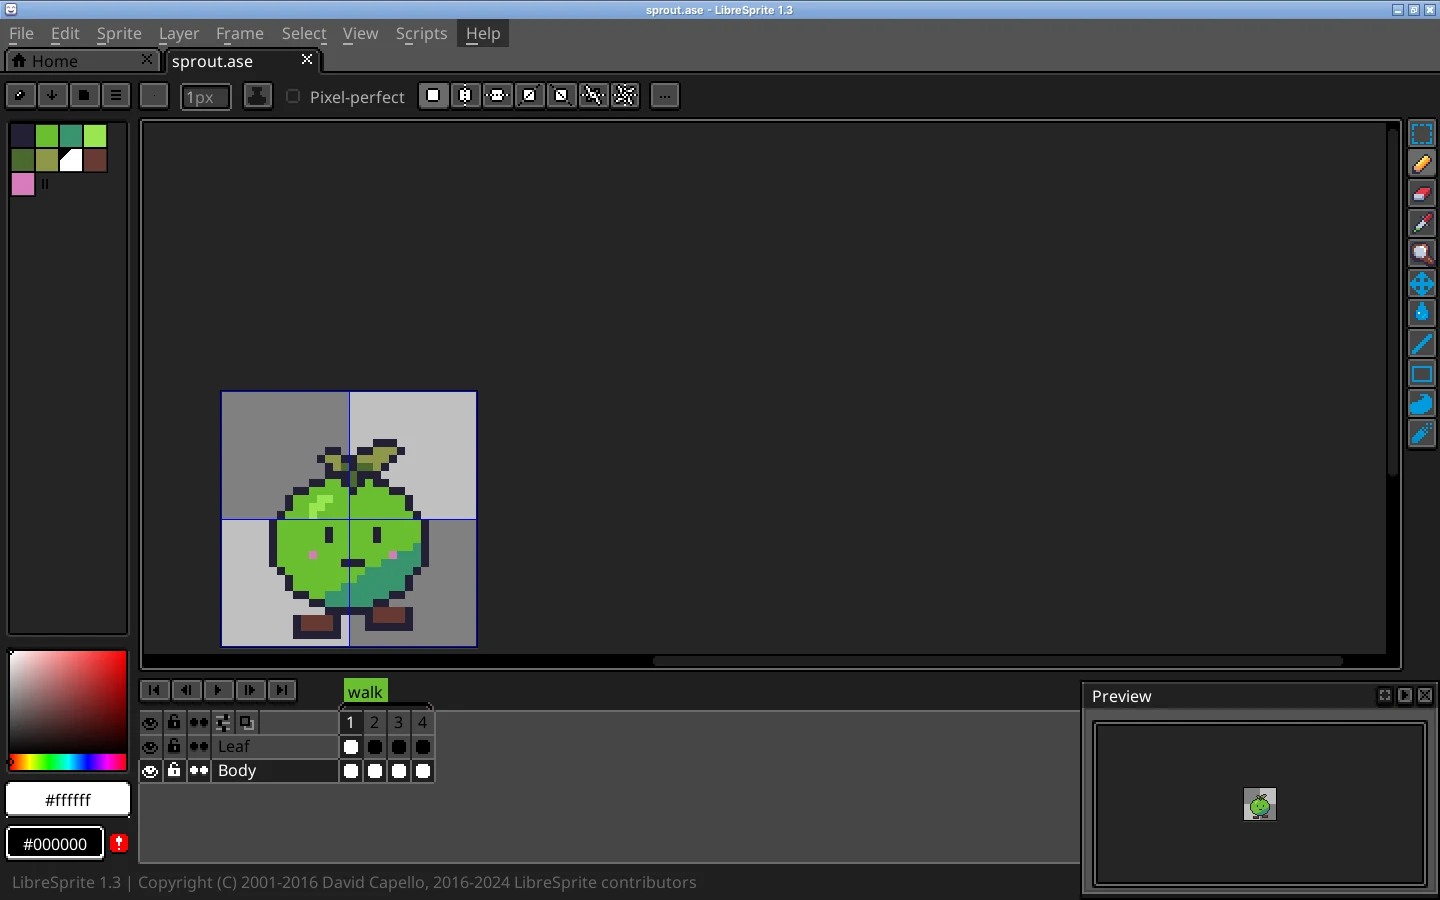
Real screenshot · Linux (Ubuntu 24.04, X11) · LibreSprite 1.3 (AppImage)View → Show → Grid (Shift+G) over the sprite. Bring tiles in
Copy each finished tile (Ctrl+A, Ctrl+C), paste into the sheet and drop it into a grid cell. Or draw directly in the cells; select one cell and use Tiled Mode on a copy (New Sprite from Selection, Ctrl+Alt+N) to check its seams.
Plan variants
For terrain: a centre tile, edges, outer corners, inner corners, plus two or three variations of the centre so large areas don’t look stamped.
View → Grid → Selection as Grid sets the grid from a rectangular selection: handy when tiles don’t start at the top-left corner.
3. Export and use it
- File → Export (Ctrl+Alt+Shift+S) as PNG at 1×. Keep the
.aseas your editable source. - Tiled (map editor): Map → New Tileset → “Based on Tileset Image”, tile size 16 × 16.
- Godot 4: add a TileMapLayer, create a TileSet with tile size 16 × 16, drag the PNG into the TileSet panel and let it create tiles automatically. Set texture filtering to Nearest (how).
- Unity: import as Sprite (Multiple), slice by cell size in the Sprite Editor, then use a Tile Palette.
Avoid lines between tiles in the engine
Thin gaps or bleeding between tiles usually come from texture filtering or mipmaps, not your art: use nearest filtering, no compression, and if needed 1–2 px padding between tiles (our sprite sheet tool can add it).
FAQ
Does LibreSprite have a tilemap editor?
No tilemap layers or tile palettes in 1.3. Use Tiled Mode and the grid for the art, and a map editor or engine for the level.
What tile size should I use?
16 × 16 is the classic size and quick to fill a game with; 32 × 32 gives more detail. See the canvas size guide.
How do I check a tile repeats without seams?
Tiled Mode (Shift+T) shows it repeated around itself; zoom out (1 or 2) to see a larger area.
Keep going
Found something wrong or out of date? Tell us: hello@libresprite.dev. We fix mistakes within a day.